基于 Headless + Vue3 实现 UI 组件
1. 探索背景
传统的 UI 组件库,是 UI + 交互逻辑的聚合。 而 Headless UI 模式,则是将 UI 组件与交互逻辑分离,只提供 UI 组件的 API, 让开发者自行实现交互逻辑。 这样就可以针对不同的场景,灵活地选择使用 Headless UI 模式,也可以减少组件的依赖,提高组件的复用性。 特别是移动端,由于交互和 UI 各异,很难一套有一套通用的 UI 组件库覆盖所有 UI 场景,这时就需要采用 Headless UI 模式。
2. Headless 的历史和背景
Headless 一词最初就是来源于 ``Headless Computer(无头计算机), 也就是 Headless System(无头系统)`,维基百科的介绍为:
无头系统(Headless System)是指已配置为无须显示器(即“头”)、键盘和鼠标操作的计算机系统或设备。无头系统通常通过网络连接控制,但也有部分无头系统的设备需要通过RS-232串行连接进行设备的管理。服务器通常采用无头模式以降低运作成本。
后来慢慢的就有了 Headless Browser(无头浏览器)、Headless CMS, Headless BI 等等常见的 Headless 系列;
后来在 2018 年 10 月 26 日改变现有 React 和 Vue 格局的 《React Conf 2018》大会引入了现有的 React Hooks 概念之后; Headless UI 概念才慢慢的被大家所接受。
因为在大家后知后觉中,其实发现 Headless UI 概念其实与 React Hooks 概念大同小异,只是差别在了一个更多的实现所有数据或交互的状态逻辑层,一个实现现有常见的 UI 库的数据或状态逻辑层。
3. 什么是 Headless UI
Headless UI 全称是 Headless User Interface (无头用户界面),是一种前端开发的方法论(亦或者是一种设计模式),其核心思想是将 用户界面(UI)的逻辑和交互行为 与 视觉表现(CSS 样式)分离开来; 换句话说, Headless UI 提供了一种方式来构建只包含逻辑和功能的用户界面组件,而不依赖于特定的 CSS 样式框架或 UI 库。 具体而言, Headless UI 的组件通常是纯粹的 JavaScript(或其他编程语言)组件,它们包含了一些交互逻辑和状态管理,但没有任何与视觉样式相关的代码。
4. 为什么需要 Headless UI?
在传统的 UI 组件中,通常被拆分为两大部分:
- 外观样式(传统组件
UI展示层) - 逻辑部分(
Headless UI部分)
外观样式负责展示元素标签与样式,而逻辑组件部分则负责处理数据逻辑、状态管理和用户交互等功能。
传统的 UI 组件库优势:
- 开箱即用: 直接
install,注册组件就可以用了; - 易学易用: 一般会有完善的组件库文档,按照
demo和 示例即可快速上手; - 功能性全: 包含常见的常见,如表单、导航、对话框等;
传统的 UI 组件库限制:
- 样式难以定制: 正所谓一个萝卜一个坑,一个公司一套样式,一个项目一套样式,那么这时候的劣势就无限被放大了;
- 耦合性高: 传统
UI组件库通常将界面样式、数据逻辑和用户交互等功能耦合在一起,导致代码难以维护和扩展; - 创意受限: 公司设计师根据现有传统 UI 组件库提供的一套固定组件和样式,他们想要拓展创意,都收到了很大的影响;
- 依赖过多: 一些传统
UI组件库可能依赖于大量的第三方库和插件,增加了项目的复杂性和维护成本;
Headless UI 的优势:
- 灵活性高: 因为
Headless UI将组件的逻辑和样式分离,可自由组合使用,满足不同的项目需求; - 可定制: 开发者可以根据自己的需求,自由定制组件的样式,实现完全的个性化;
- 轻量级: 相比于传统的
UI组件库,Headless UI的体积更小,加载速度更快,维护成本更低; - 测试友好: 因为不需要关注样式,开发者可以更方便地进行单元测试,保证组件的稳定性和可靠性;
当然 Headless UI 也有缺点,并不适用于所有的项目:
- 如果你项目使用简单,对设计没有较大的要求,还是用现成的
UI库比较合适,毕竟开箱即用; - 产品设计风格统一或风格变化稳定,那么封装一套通用的,支持换肤即可适配多场景;
5. 初次尝试
这里基于开源项目 radix-vue,以 常见的 Button 组件为例,尝试使用 Headless UI。 其实 Button 组件交互比较简单,可以直接基于 Headless 原始元素组件进行封装,如:
<!-- CustomButton.vue -->

<template>
  <Primitive as="button" :as-child="false" class="button button-type-primary button-size-medium">
    <IconLoading v-if="loading" />
    <slot />
  </Primitive>
</template>

<script setup lang="ts">
import { IconLoading } from 'icon/xxx';
import { Primitive, type PrimitiveProps } from 'radix-vue';

interface ButtonProps extends PrimitiveProps {
  loading?: boolean;
}
</script>
在这个例子中,我们定义了一个名为 Button 的组件,它继承自 Primitive 组件。 Primitive 是一个由 Radix UI 提供的组件,它可以用来创建自定义的 HTML 元素。 我们定义了一个名为 ButtonProps 的接口,它继承自 PrimitiveProps 接口,并添加了一个名为 loading 的布尔属性。
那么,如果要把这个 Button 组件基于 Headless 风格进行封装再次,预期为:
- 里面带有一些交互逻辑,比如
Loading状态内部进行自动控制; - 无障碍友好;
- 内部数据状态体现在元素属性上,使得更好的运用样式控制;
- ...
那么应该如何实现呢?
5.1 本地运行
git clone git@github.com:radix-vue/radix-vue.git
cd radix-vue
# 1. 安装依赖
pnpm install
# 2. 构建项目,文档本地启动,需要先生成构建结果
pnpm build
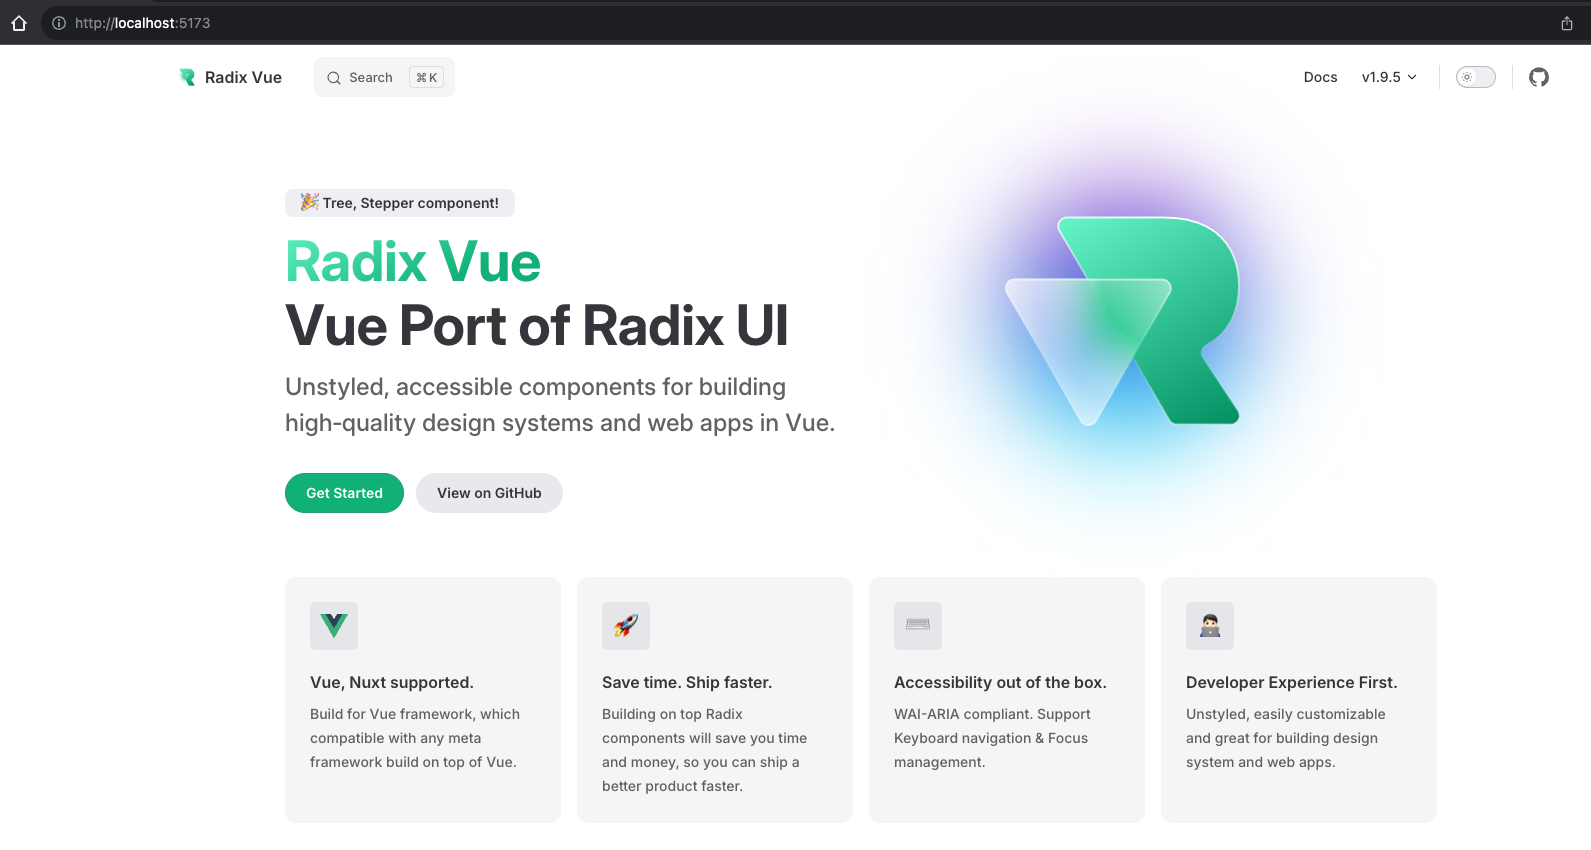
文档项目运行正常后,是这个样子:
# 3. 启动文档
pnpm docs:dev
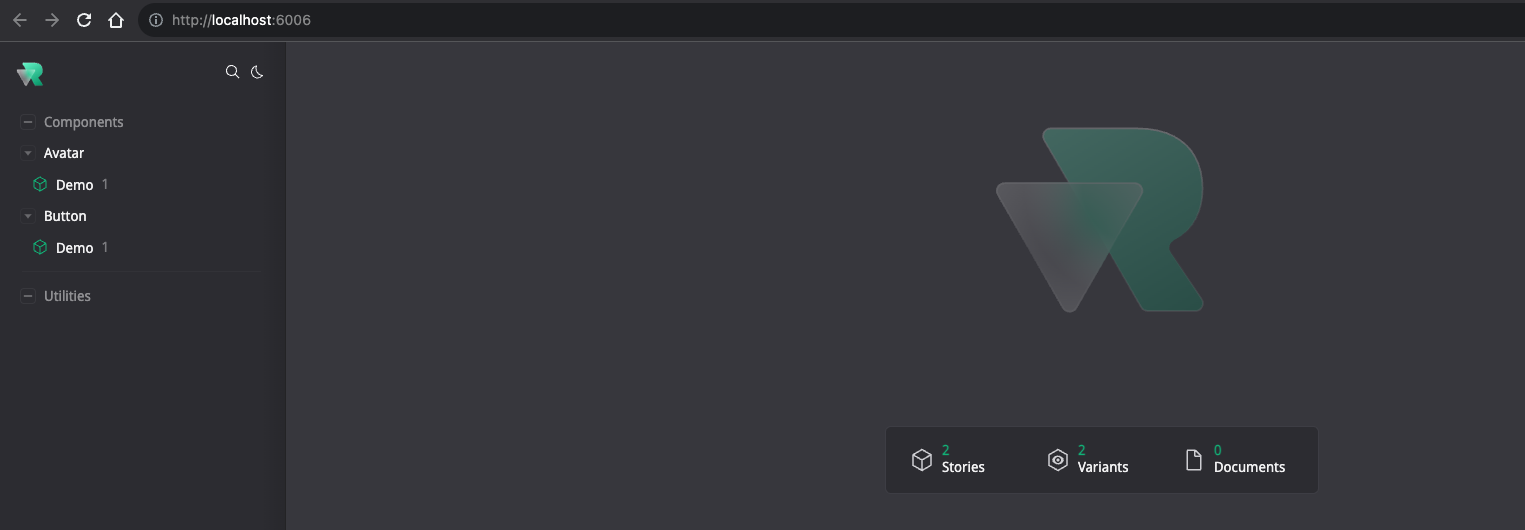
调试项目运行正常后,是这个样子:
# 4. 启动调试
pnpm story:dev
5.2 项目目录结构
.
├── .histoire
├── .vscode
├── docs
├── packages
|    ├── plugins
|    └── radix-vue
|          ├── constant
|          └── src
|               └── Button
|                  ├── story
|                       └── Button.story.vue
|                  ├── ButtonContent.vue
|                  ├── ButtonLoading.vue
|                  ├── ButtonRoot.vue
|                  └── index.ts
├── patches
├── src
|    ├── assets
|    ├── components
|    ├── App.vue
|    └── main.js
├── package.json
└── pnpm-workspace.yaml
5.3 组件实现
// index.ts

export {
  type ButtonContentProps,
  default as ButtonContent,
} from './ButtonContent.vue';
export {
  type ButtonLoadingProps,
  default as ButtonLoading,
} from './ButtonLoading.vue';
export { type ButtonRootProps, default as ButtonRoot } from './ButtonRoot.vue';<!-- ButtonRoot.vue -->
<template>
<Primitive :as-child="asChild" :as="as" role="button">
<slot />
</Primitive>
</template>
<script lang="ts">
import type { PrimitiveProps } from '@/Primitive';
import type { Ref } from 'vue';
import { createContext, useForwardExpose } from '@/shared';
</script>
<script setup lang="ts">
import { Primitive } from '@/Primitive';
import { toRefs } from 'vue';
export interface ButtonRootProps extends PrimitiveProps {
loading?: boolean;
}
export interface ButtonRootContext {
loading?: Ref<boolean>;
}
const props = withDefaults(defineProps<ButtonRootProps>(), {
as: 'button',
});
const [injectButtonRootContext, provideButtonRootContext] = createContext<ButtonRootContext>('ButtonRoot');
useForwardExpose();
const { loading } = toRefs(props);
provideButtonRootContext({
loading,
});
</script><!-- ButtonLoading.vue -->
<template>
<Primitive v-show="loading" role="icon" :as-child="asChild" :as="as" :data-hidden="loading ? true : false">
<slot />
</Primitive>
</template>
<script lang="ts">
import type { PrimitiveProps } from '@/Primitive';
import { useForwardExpose } from '@/shared';
</script>
<script setup lang="ts">
import { Primitive } from '../Primitive';
import { injectButtonRootContext } from './ButtonRoot.vue';
export interface ButtonLoadingProps extends PrimitiveProps {}
withDefaults(defineProps<ButtonLoadingProps>(), { as: 'span' });
useForwardExpose();
const { loading } = injectButtonRootContext();
</script><!-- ButtonContent.vue -->
<template>
<Primitive :as-child="asChild" :as="as" role="text">
<slot />
</Primitive>
</template>
<script lang="ts">
import type { PrimitiveProps } from '@/Primitive';
import { useForwardExpose } from '@/shared';
</script>
<script setup lang="ts">
import { Primitive } from '@/Primitive';
export interface ButtonContentProps extends PrimitiveProps {}
withDefaults(defineProps<ButtonContentProps>(), {
as: 'span',
});
useForwardExpose();
</script>接下来调试看看效果。
5.4 调试
<!-- Button.story.vue -->

<template>
  <Story title="Button/Demo">
    <Variant title="default">
      <ButtonRoot :loading="state.loading">
        <ButtonLoading> Loading </ButtonLoading>
        <ButtonContent> 按钮 </ButtonContent>
      </ButtonRoot>
    </Variant>
  </Story>
</template>

<script setup lang="ts">
import { reactive } from 'vue';
import { ButtonContent, ButtonLoading, ButtonRoot } from '../';

const state = reactive({
  loading: false,
});
</script>
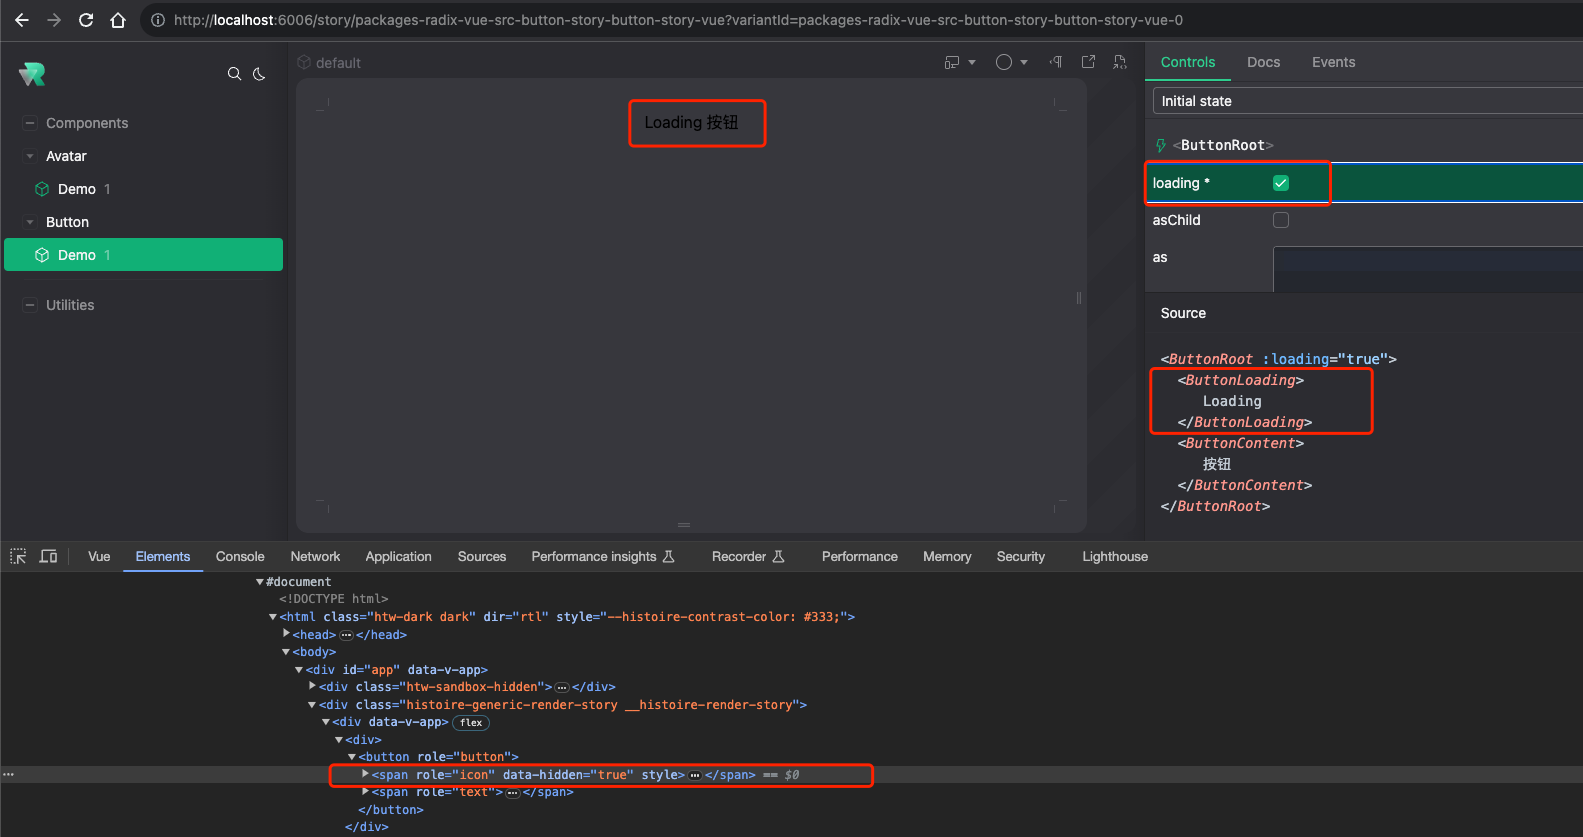
我们看到,这个组件只有交互逻辑,没有样式,无障碍信息也体现在元素结构中, loading 状态也可视化更新。 那么现在就算基本符合 headless 的初衷了。
我们也可以很方便的根据内部状态进行样式控制,如:
[data-hidden="false"] {
  /* 添加内部状态样式 */
}
另外,写法上也会和传统的组件有些不同:
- 更细粒度的组合;
- 层次清晰,每个逻辑层都可控,层级结构和
dom层级保持一致,使得可以充分自由定制;
5.5 实际应用
目前的 Button 组件只有交互逻辑,没有样式,自然是不能直接应用到项目中,需要结合样式库或者自定义样式。 所以,我们就可以将其封装成一个通用的组件在我们项目中,或者封装一个个性化组件,仅针对某个别场景使用。
<!-- docs/components/demo/Button_General/css/index.vue -->
<template>
  <div>
    <ButtonRoot class="ButtonRoot">
      <ButtonContent class="ButtonContent">
        查看
      </ButtonContent>
    </ButtonRoot>
  </div>
</template>

<script setup lang="ts">
import { ButtonContent, ButtonRoot } from 'radix-vue';
import './styles.scss';
</script>@import "@radix-ui/colors/black-alpha.css";
@import "@radix-ui/colors/grass.css";
.ButtonRoot {
width: 100%;
line-height: 22px;
position: relative;
display: flex;
align-items: center;
justify-content: center;
height: var(--f-btn-height);
padding: var(--f-btn-padding);
color: var(--f-btn-color);
font-weight: 400;
font-size: var(--f-btn-font-size);
white-space: nowrap;
vertical-align: middle;
background: var(--f-btn-bg-color);
border: var(--f-btn-border-width) var(--f-btn-border-style) transparent;
border-color: var(--f-btn-border-color);
border-radius: var(--f-btn-border-radius);
cursor: pointer;
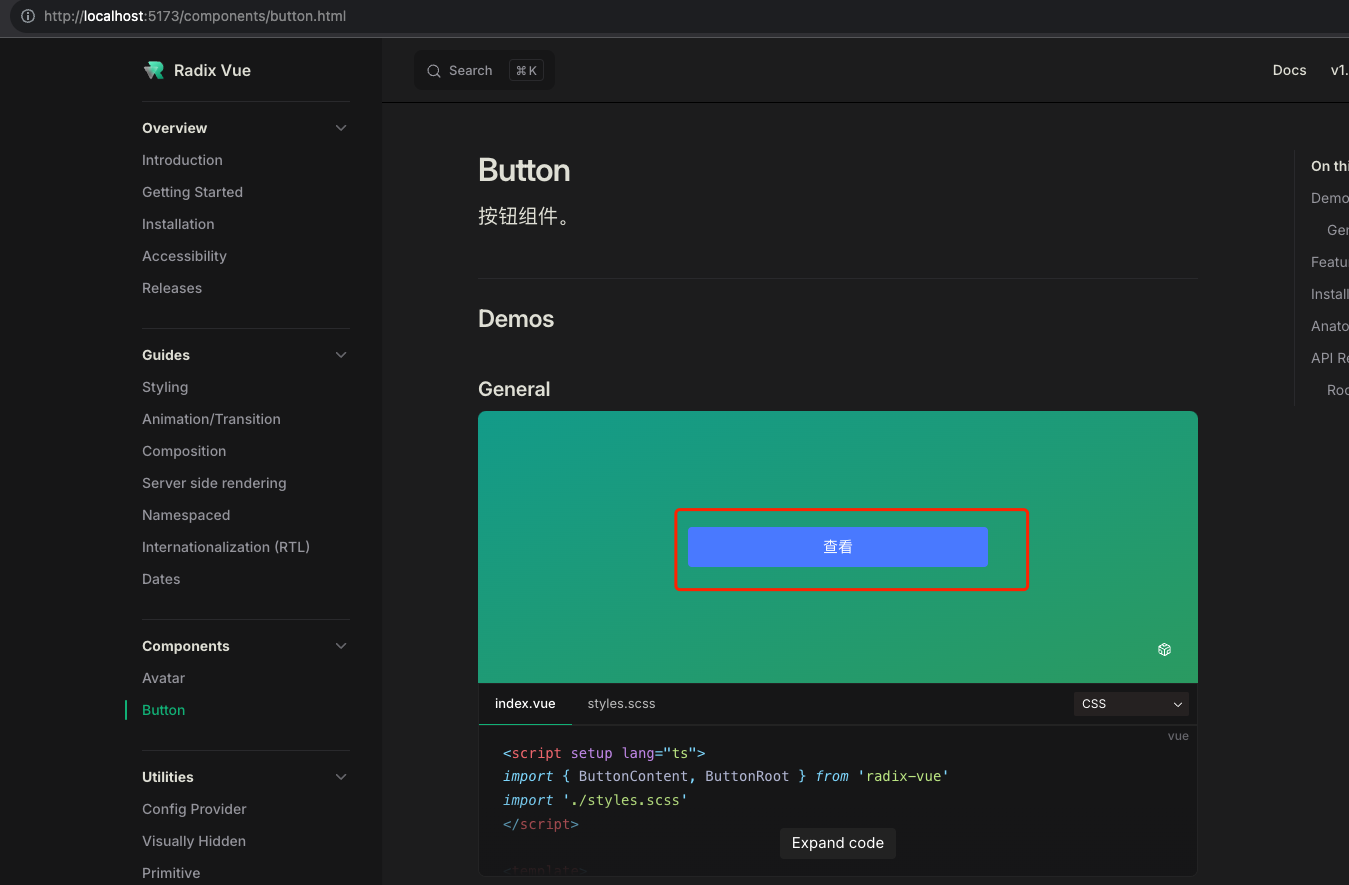
}效果如下:

6. 更多
- 现有
UI组件库,对应到headless写法,有没一套方法论?进而把规则写好,让 AI 协助生成代码。 - 对于特有的交互,如移动端下拉框,日期选择器等弹出层,需要写对应的
headless公共逻辑,目前这方便是比较缺失的,需要后续特别补充。 headless组件提供的API接口,与现有组件已有的 API,哪些是headless提供的,哪些是组件应用层提供?这个需要进一步明确和规划。- 仅有
headless是不能直接应用于项目的,那么自然是不是需要把已有的移动端组件库基于headless封装的组件做一下改造?